By: Melissa Travis, Student Assistant
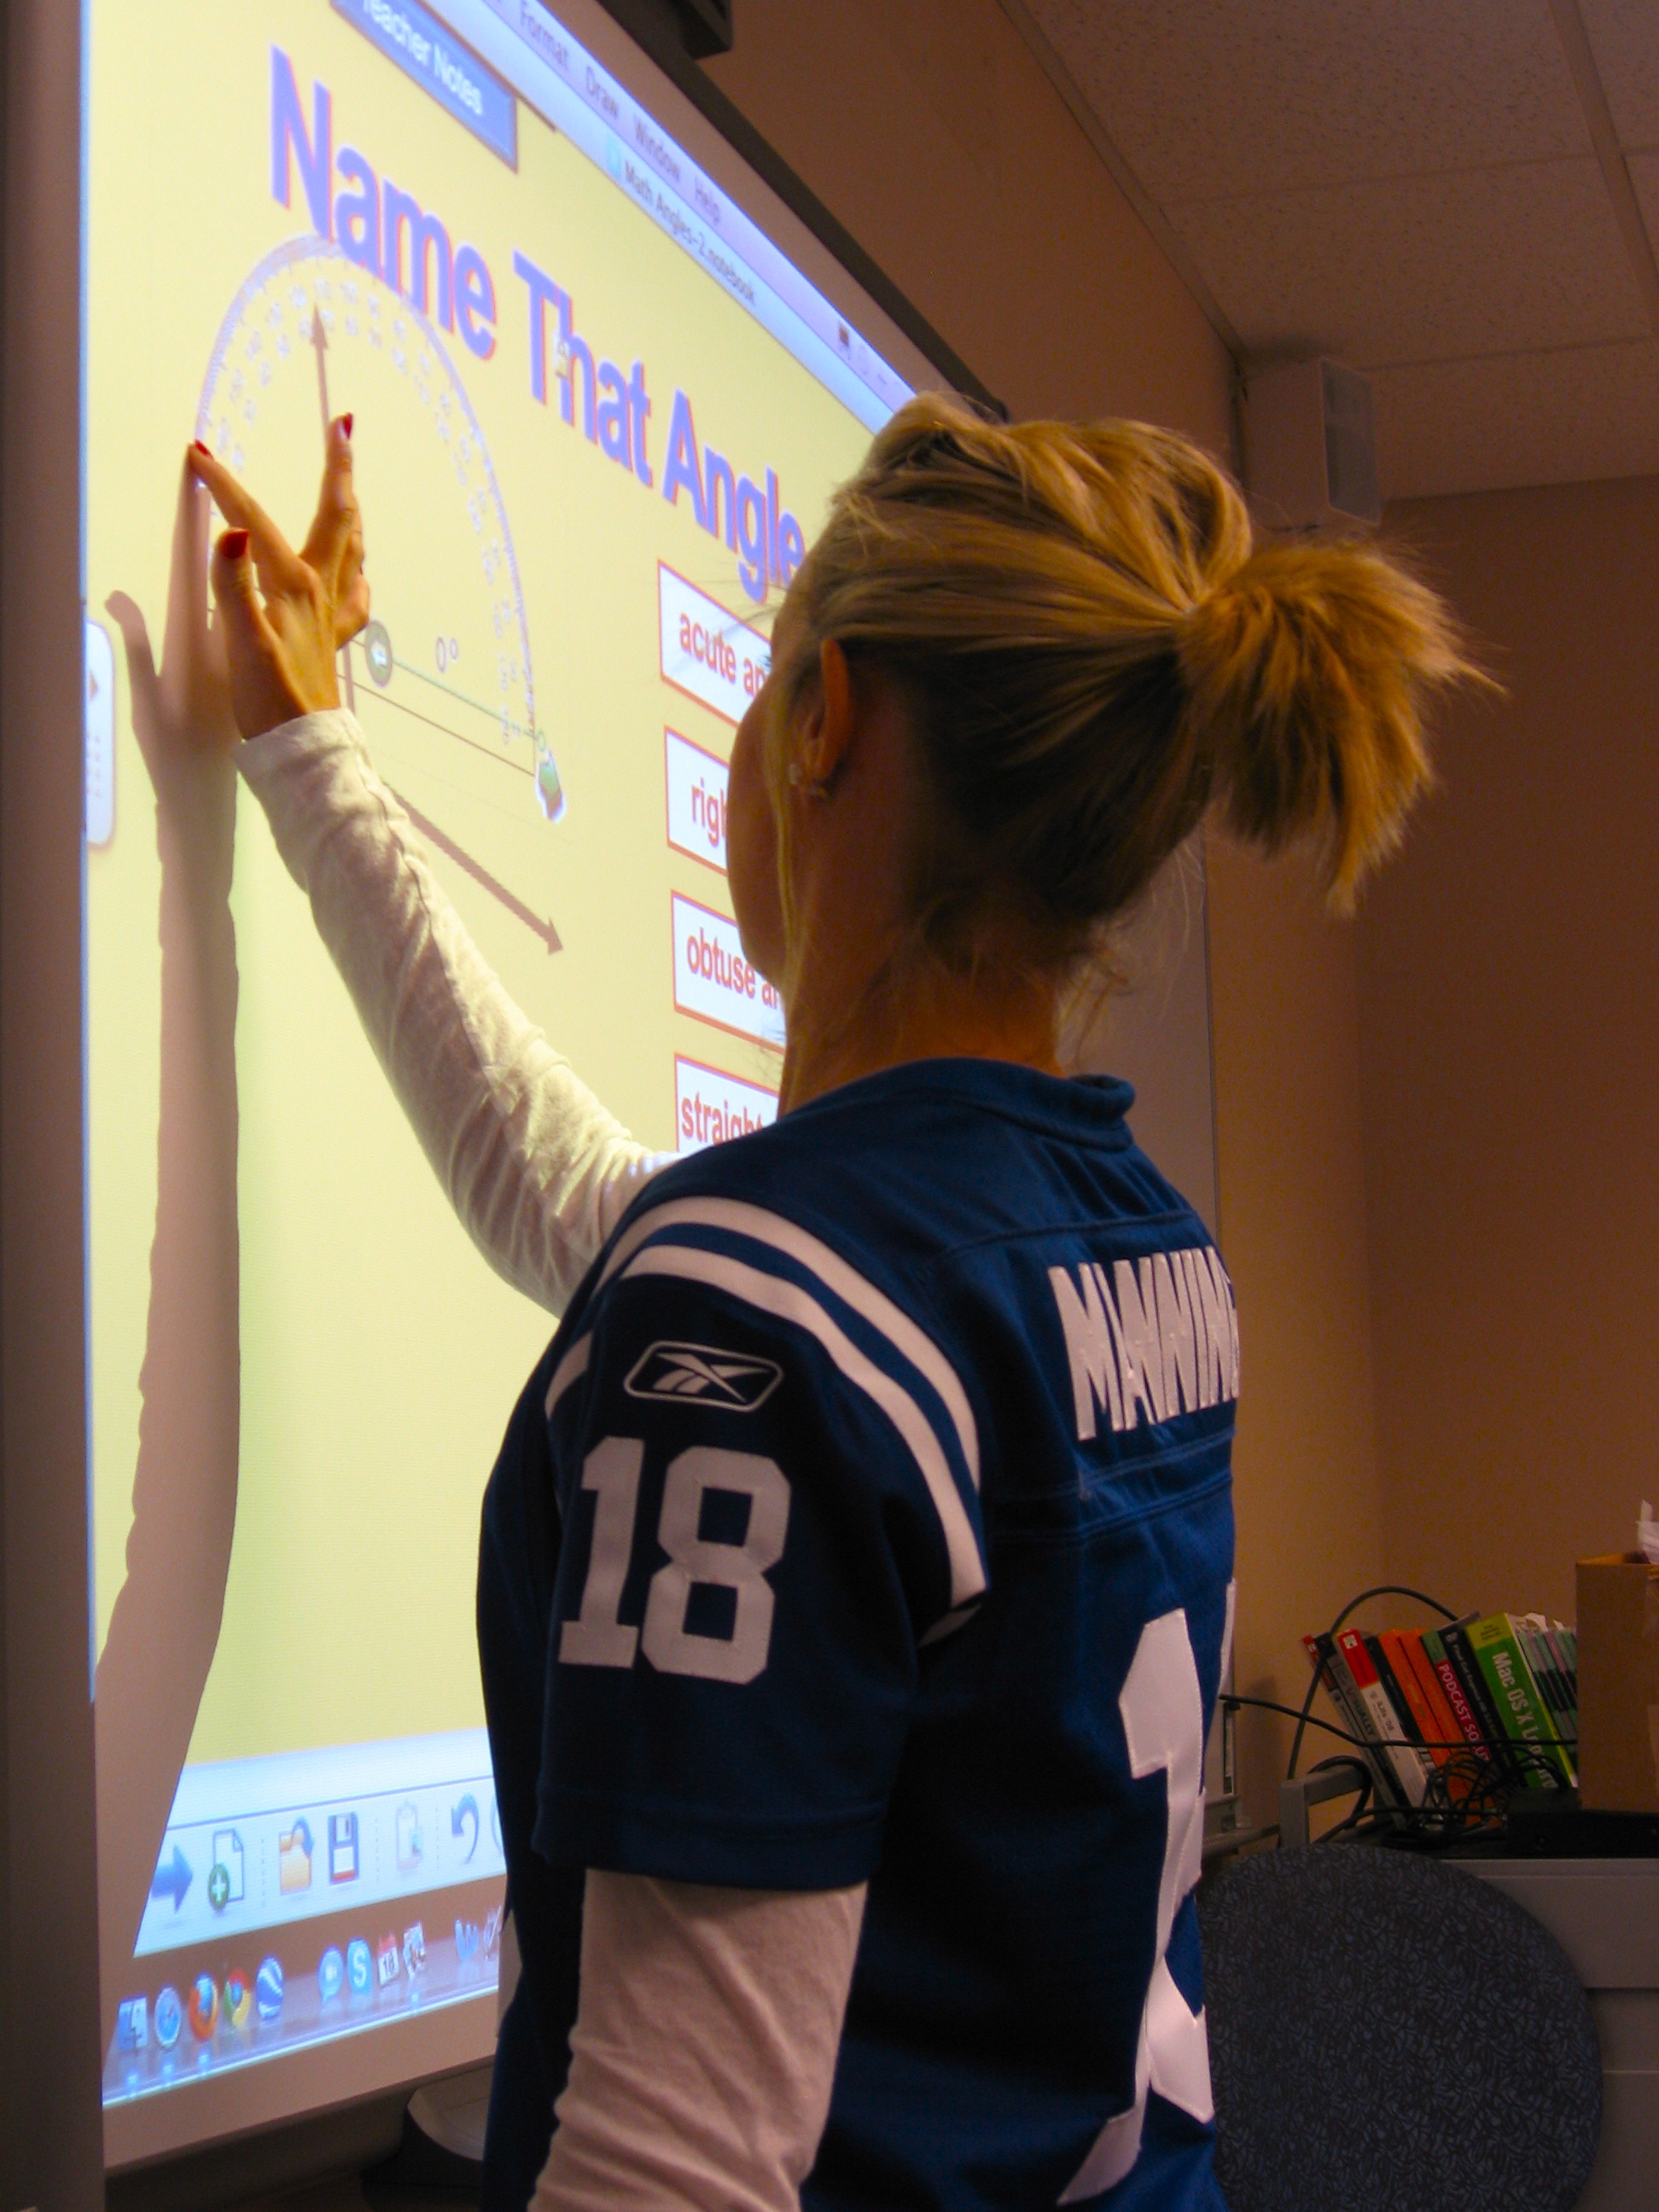
“Combining the simplicity of a whiteboard with the power of a computer, the SMART Board Interactive Whiteboard lets you deliver dynamic lessons, write notes in digital ink, and save your work – all with the simple touch of a finger.”
Visit their site to find out more-http://smarttech.com/us
Getting Started With SMART Notebook Software
1. Downloading SMART Board Software (Notebook):
Come visit us at the iStudio (WQ 404) or download the latest free SMART Board software from this website: http://smarttech.com/us/Support/Browse+Support/Download+Software
Note: Download on website will allow for a 30 day free trial or come to the iStudio ( WQ 404) for activation code
2. Locating the Notebook icon:
After download open the SMART notebook icon looks like this ![]() or in finder search for Notebook.
or in finder search for Notebook.
3. Getting Started:
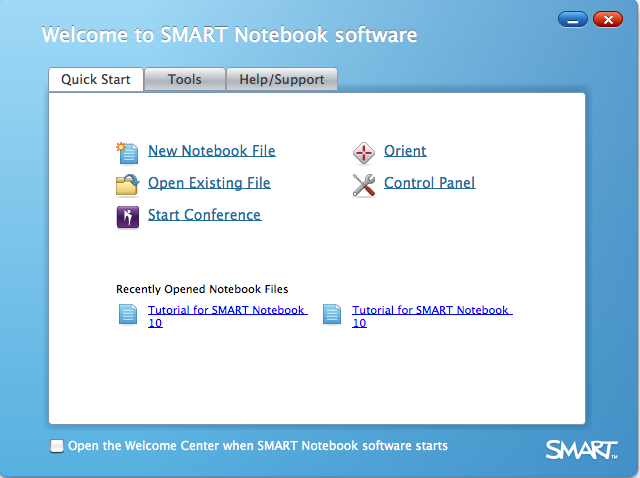
Once you open Notebook you will get a Welcome Screen that looks like this:
4. Orienting/Calibrating the Board:
The first time you use your laptop with the SMART Software you may need to Orient the board. This can be found in the Welcome Center. Click Orient and a screen like this will pop up:
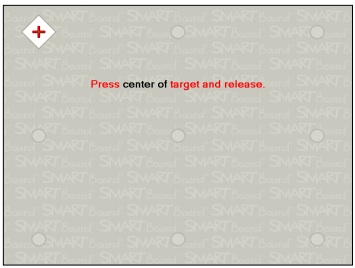
With either the pen or your finger touch the center of target and release.
5. Creating in Notebook:
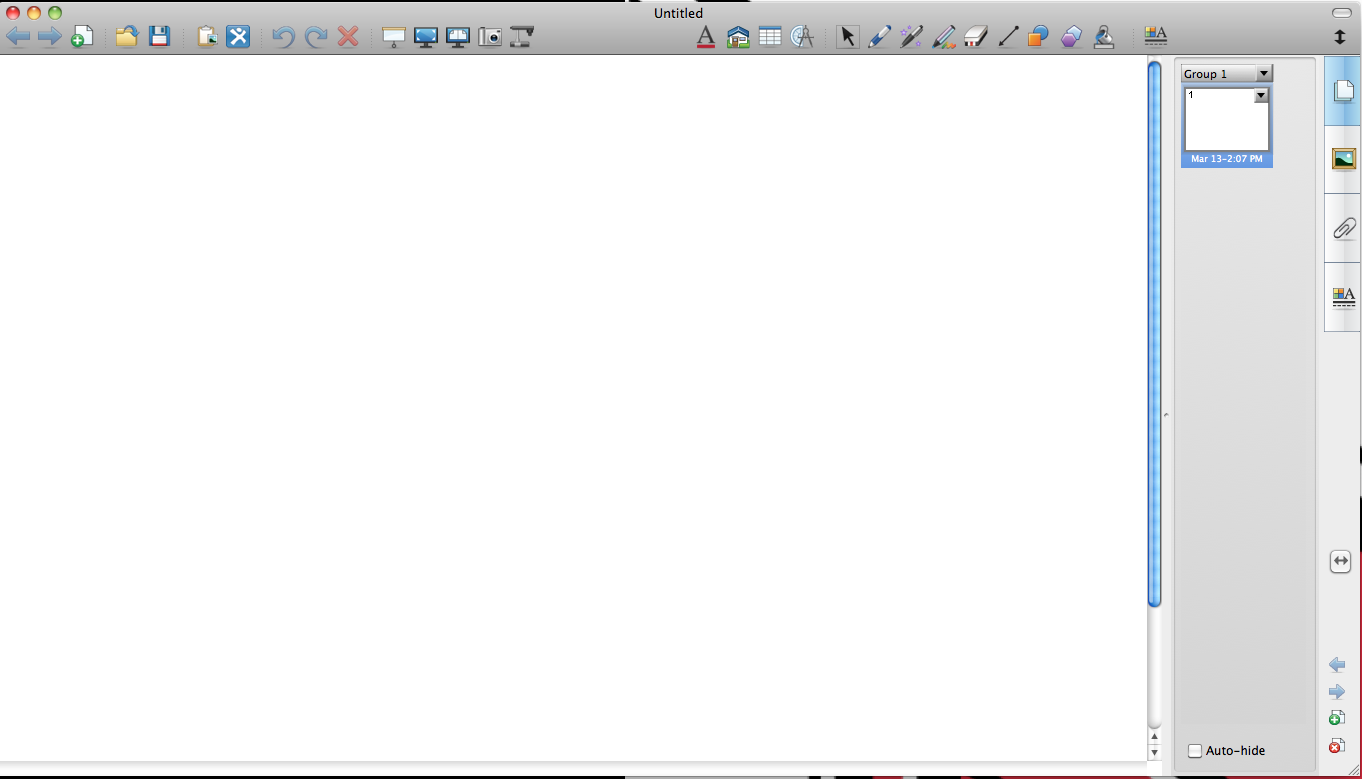
The Notebook page will look like this:
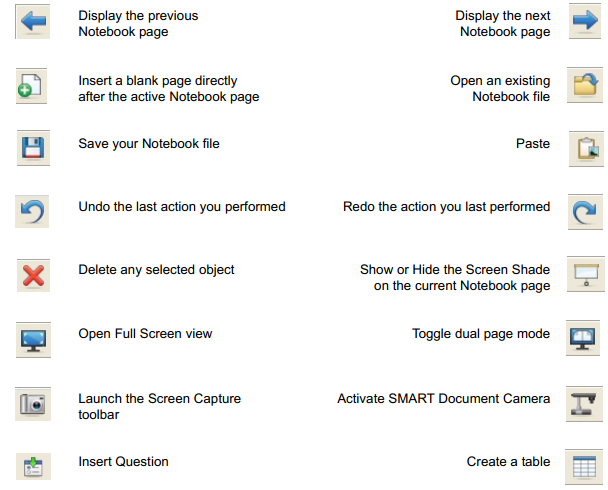
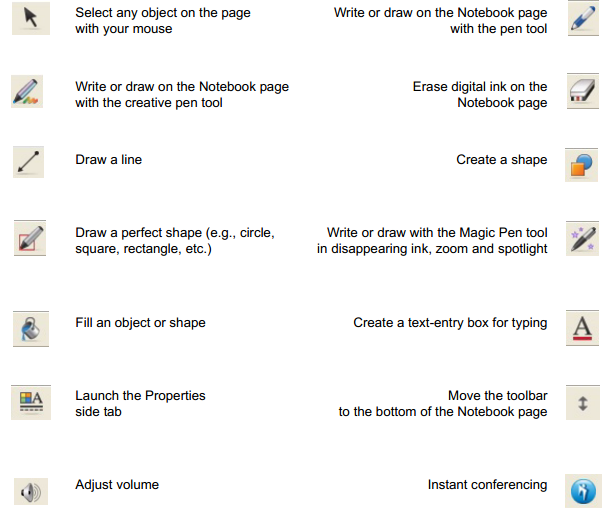
6. Tools Description:
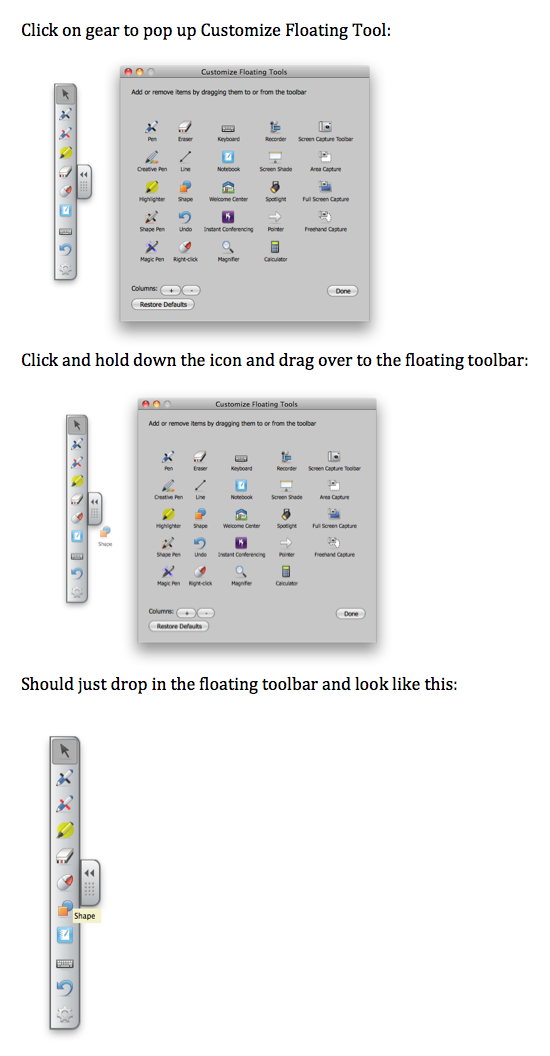
7. How to Customize Floating Tools?
8. Using the Drop-Down Menu When Manipulating objects:
The Object Drop Down Menu gives you access to the functions most commonly used when working with an object. Select an object and press the arrow that appears in the top right corner of the object.
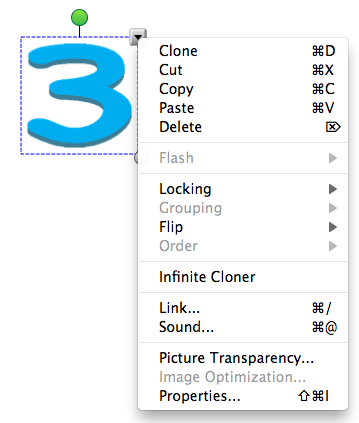
Description of Menu Items:
Clone Make an exact copy of the selected object
Infinite Cloner Make an exact copy of the selected object infinite amount
Cut Remove the selection from the Notebook file and place it in the clipboard
Copy Copy the selection and place it in the clipboard. The original object or objects remain on the Notebook page
Paste Insert the contents of the clipboard in the upper-left corner of the Notebook page
Delete Delete the selection from the current Notebook file
Check Spelling Check the spelling of selected text
Lock in Place Lock the selected object to ensure its properties cannot be changed
Grouping Group or ungroup objects. Group is to have two or more selected objects act as a single object.
Ungroup for the ability to manipulate the objects in a group individually. Ungroup will also break apart a handrawn or handwritten object to single pen strokes
Order Change which objects are in front of or behind other objects
Hyperlink Add a link to a website or file
Properties Modify the properties of an object such as Outline Color, Fill Color, Line Properties, Transparency and Font